
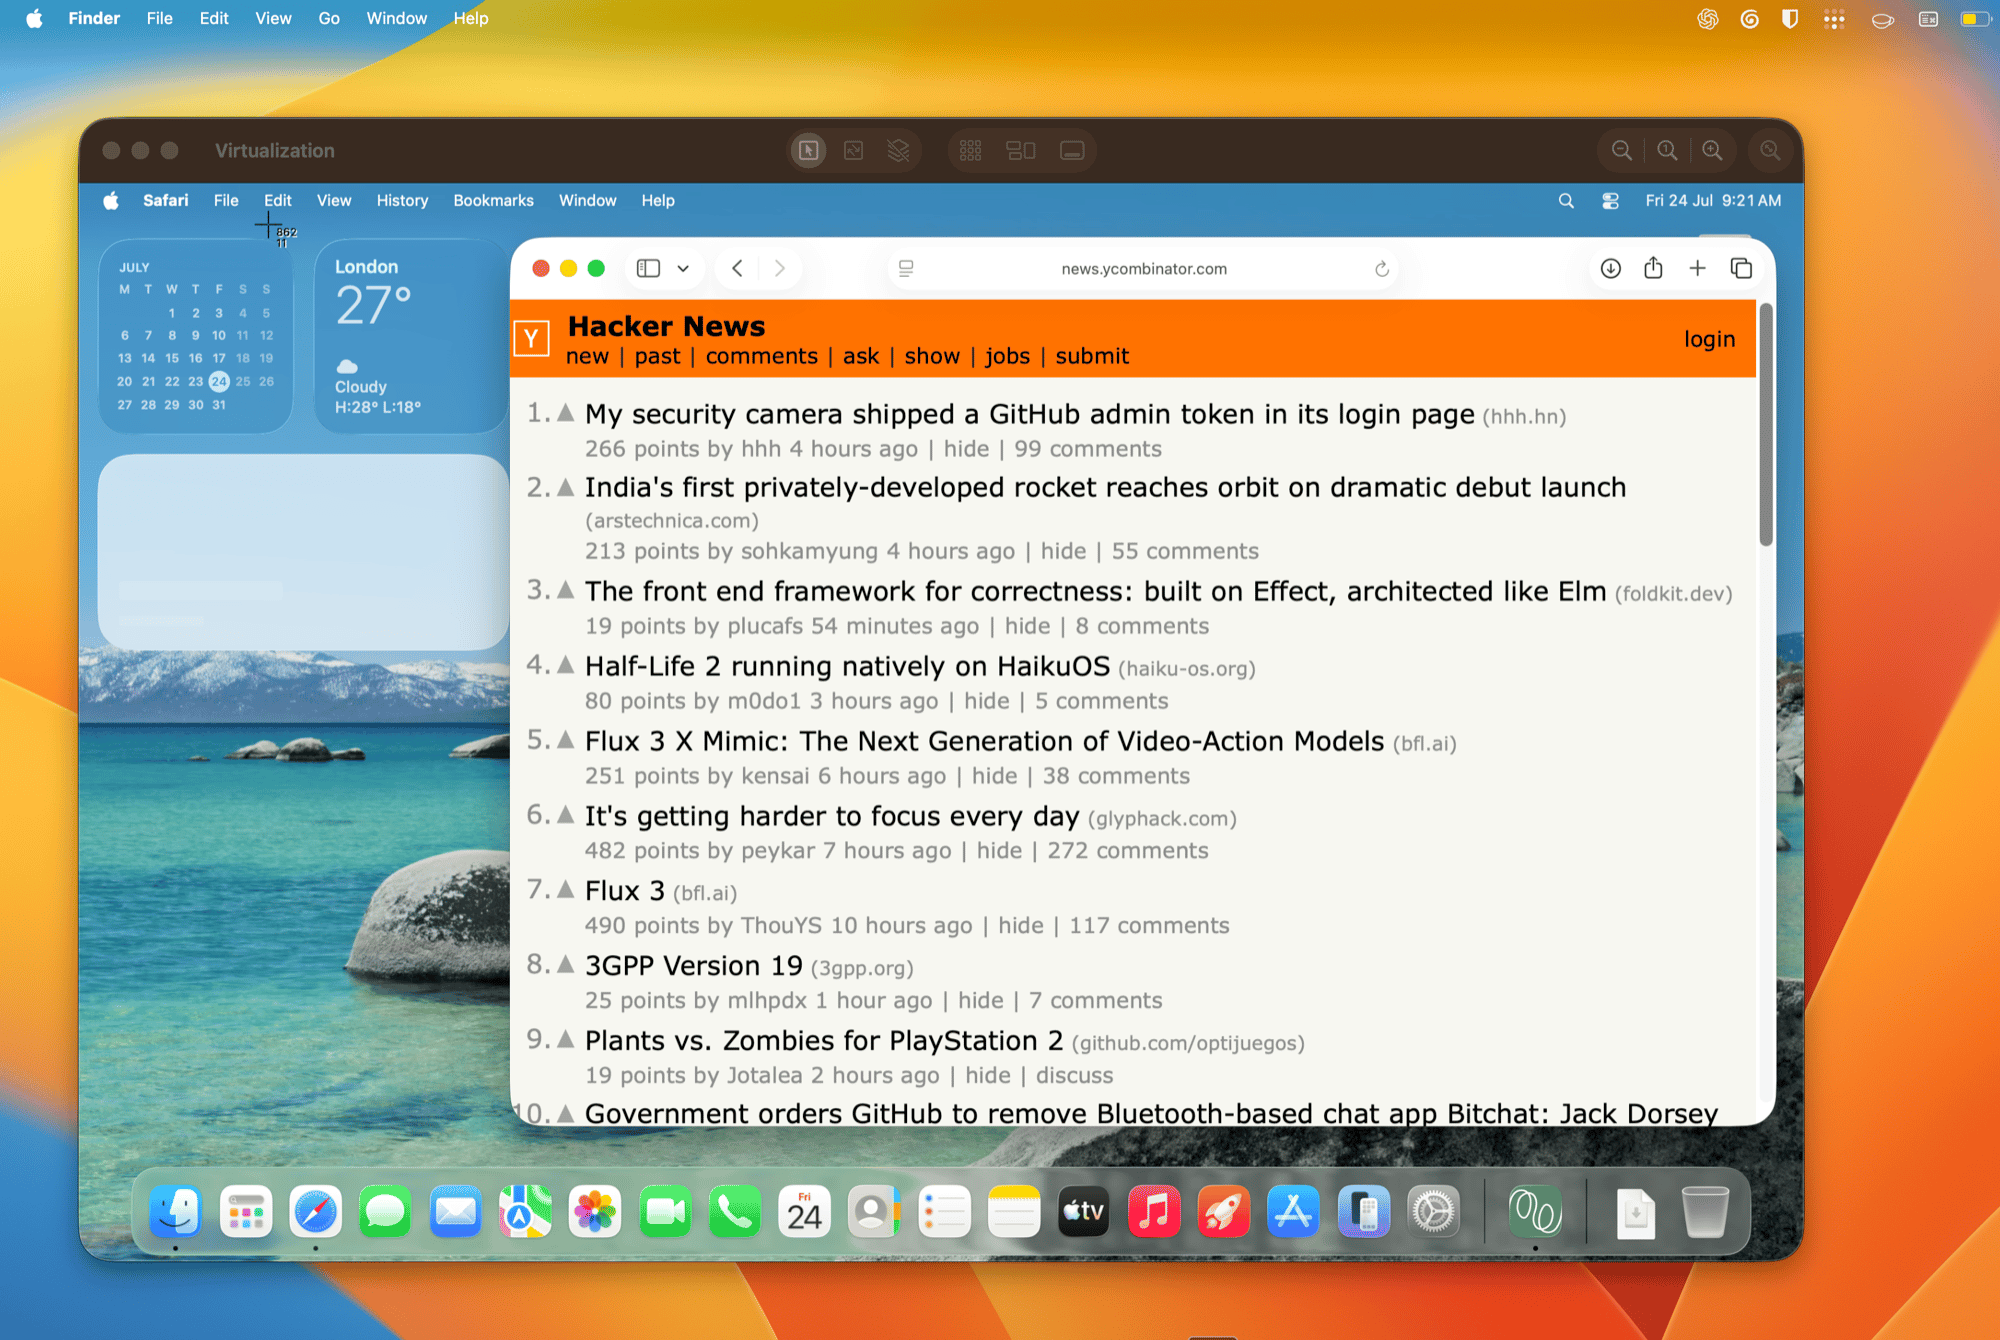
A disposable macOS sandbox running Safari on an Apple Silicon Mac
What you can do
- Open and use a full macOS desktop.
- Test apps and installers, including apps distributed in
.dmgfiles. - Share a local folder with read-only access by default.
- Stop and restart a sandbox without losing its private files.
- Delete the sandbox to discard its apps, files, and changes.
- Reuse one prepared macOS image to create later sandboxes quickly.
Before you start
You need:- An Apple Silicon Mac
- macOS 14 or newer
- About 50 GB of free space for the first image preparation
- An APFS volume, the standard file system on modern Macs
- SmolVM installed locally using the installation guide
The Apple restore file and prepared macOS image stay on the Mac where you create them. Image publishing, export, and transfer are unavailable for macOS images.
Create your first macOS sandbox
After the one-time setup, you only need two commands: create the sandbox, then open its desktop.1
Prepare your Mac once
Install the tested macOS desktop runtime:Check that your Mac is ready:
vz is the local runtime that uses Apple’s built-in virtualization support.Continue when the doctor summary shows
Result: OK and Failures: 0.2
Create the sandbox
Create a sandbox named On the first run, SmolVM asks before downloading and preparing macOS. Enter When creation finishes, the sandbox is already running. The output includes the next command. Your start time will differ:
nimble-mac:y to continue. The progress bar follows the download, installation, and desktop setup.3
Open the desktop
Run the SmolVM opens Screen Sharing and confirms the connection:SmolVM supplies the private Screen Sharing password automatically. At the macOS login screen, use:
Next command from the create output:- Username:
lume - Password:
lume
Copy and paste between your Mac and the sandbox
Copy and paste works in both directions between your Mac and a macOS sandbox out of the box. Copy on one side, paste on the other — no extra setup. If you would rather keep the two clipboards separate, turn clipboard sync off when you create the sandbox:Share a local folder
Create a new sandbox that can read your current folder:Stop, reopen, and discard the sandbox
Stop the sandbox when you want to keep its private files for later:Deleting a sandbox removes its private desktop. The reusable base image and files in read-only shared folders remain available.
Prepare the image ahead of time
Run the long preparation step before you need your first sandbox:SmolVM uses the macOS image’s fixed size and selects
vz automatically. Run the command as shown; --size-mb and --backend are available for Linux image builds instead.sandbox create commands reuse this image.
List local images:
How it works
SmolVM keeps one reusable macOS base image. Each sandbox receives a fast APFS clone, a private copy that stores only its own changes. This means:- Installing an app in one sandbox does not add it to the base image.
- Two sandboxes do not share their private changes.
- Stopping a sandbox keeps its changes.
- Deleting a sandbox discards its private clone.
127.0.0.1, an address that only your Mac can reach. Screen Sharing uses . SmolVM stores the generated connection password in the sandbox’s private files and keeps it out of commands, logs, and API responses.
Lume
SmolVM uses Lume behind the scenes to prepare and run the macOS desktop. Lume is an open-source project that works with Apple’s built-in system for running virtual Macs.smolvm setup --macos installs the tested Lume version for you, and SmolVM handles it through the commands in this guide. The lume login name comes from the desktop account that Lume creates during automatic setup.
Preview limits
- You can run at most two macOS sandboxes at the same time.
- Each sandbox uses 4 CPU cores, 8 GB of memory, and an 80 GB logical disk. Custom sizes are not available yet.
- Shell commands, SSH sessions, file transfer commands, and SSH tunnels are not available through SmolVM for macOS guests yet.
- Bridge networking, outbound-domain rules, pause and resume, snapshots, and browser sessions are not available for macOS guests yet.
- The prepared image and sandbox clones remain tied to the local Mac.
Troubleshooting
The confirmation prompt says invalid input
The confirmation prompt says invalid input
Enter only
y or n at Continue? [y/N]:. For unattended scripts, approve the one-time image preparation explicitly:Image installation failed after the download
Image installation failed after the download
Run the create command again. SmolVM stores a completed restore download under
~/.smolvm/images/macos/.downloads/ and reuses it for the next installation attempt.Screen Sharing did not open
Screen Sharing did not open
Confirm that the sandbox is running, then allow more time for startup:
SmolVM reports an unsupported or unreadable runtime
SmolVM reports an unsupported or unreadable runtime
Reinstall the tested runtime and check it again:
A third macOS sandbox will not start
A third macOS sandbox will not start
Apple allows at most two running macOS virtual machines on supported hardware. Stop one sandbox, then start the other:
Next steps
Create a sandbox
Review the sandbox creation options
Share local folders
Control read-only and writable folder access
Sandbox lifecycle
Start, stop, inspect, and delete sandboxes
Security model
Understand isolation and local access